It s even easier if you do it without nails.
How to sucure a tarp to tile roof.
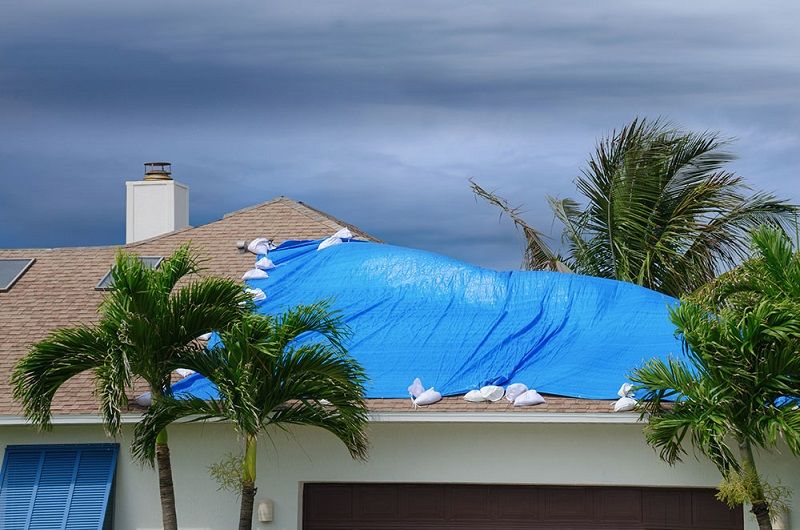
Tarping is a way to temporarily stop leaks until the roof can be repaired.
This will prevent water and debris from entering the damaged area.
Lay the tarp across the roof so that at least 4 feet 1 2 m lies on the sloped part of your roof on each side known as the peak.
Secure the tarp to your roof.
Lay the tarp out flat over the roof.
Installing a tarp on your roof is easier than you think.
On a shingled roof you just nail the tarp in place using furring strips but you can not nail a tarp into a tile roof.
To begin securing the tarp screw through the rolled 2 x 4 boards with your screw gun.
You can use 2 3 inch wide double sided tape to secure the tarp to the tile.
In the aftermath of a hurricane tornado severe storm falling tree limbs or other cause of roof damage.
Secure the tarp s remaining sides with additional 2 x 4 boards using your screw gun and screws.
Secure the tarp by wrapping the ends around two by four lumber and screwing the lumber to the roof or the siding.
Fully secure your roof tarp to prevent flapping.
Installing tarp on a roof without nails.
You need to know first which spot on the roof needs tarping up.
After this step you ll want to sandwich the tarp between another 2x4 and temporarily secure the bottom 2x4 to the roof with a nail.
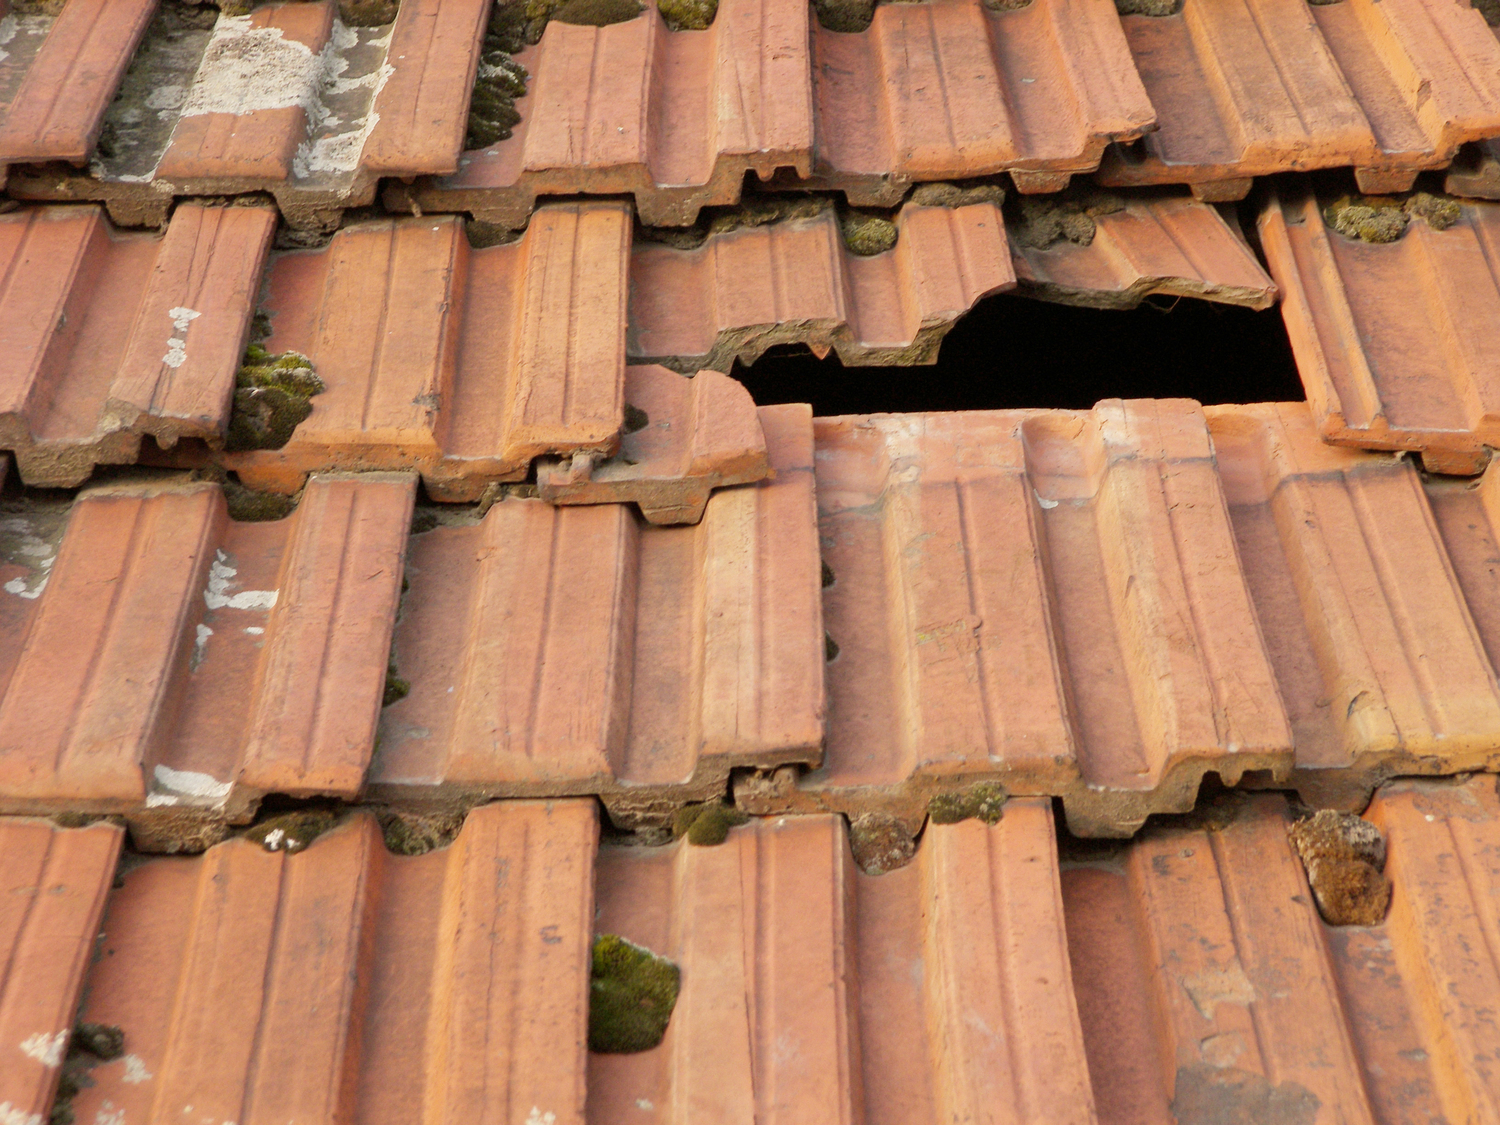
Find the source of the leak.
It s important to report the damage to your insurance company as soon as possible and take plenty of pictures.
The 2 by 4 should be about 2 feet longer than the tarp width.
Screw the 2 by 4 directly into the roof to secure it.
Here are the steps on how to install a tarp on your roof without nails.
Let the rest of the tarp hang off the lower border of the roof that overhangs the wall known as the eave.
You want to get long 3 inch nails to get plenty of bite into the roof s sheathing and still be able to bend an upper portion of them to secure the tarp.
Once every grommet has a bent nail in it add a dab of roofing tar into each grommet hole around the nail that penetrates the roof to protect against leaks.
Roll the tarp s edges using 2x4 s to secure the wood and nail it to the tarp using 3 inch nails.
Lay more 2 by 4s on either side of the tarp and attach those as well for a tight well secured water barrier.
Never lay the tarp out during a storm.
Then fold the excess tarp under a few rotations for a tight clean fit.
It is best to also weight the tarp down with sandbags or heavy objects to keep wind from blowing up under it.